Home › Guides › Exporting stems
How to export stems: getting your tracks ready for mixing
A good mix starts with the export. When your tracks are prepared cleanly, nobody has to guess while mixing, and you get a result that sounds like you, faster.
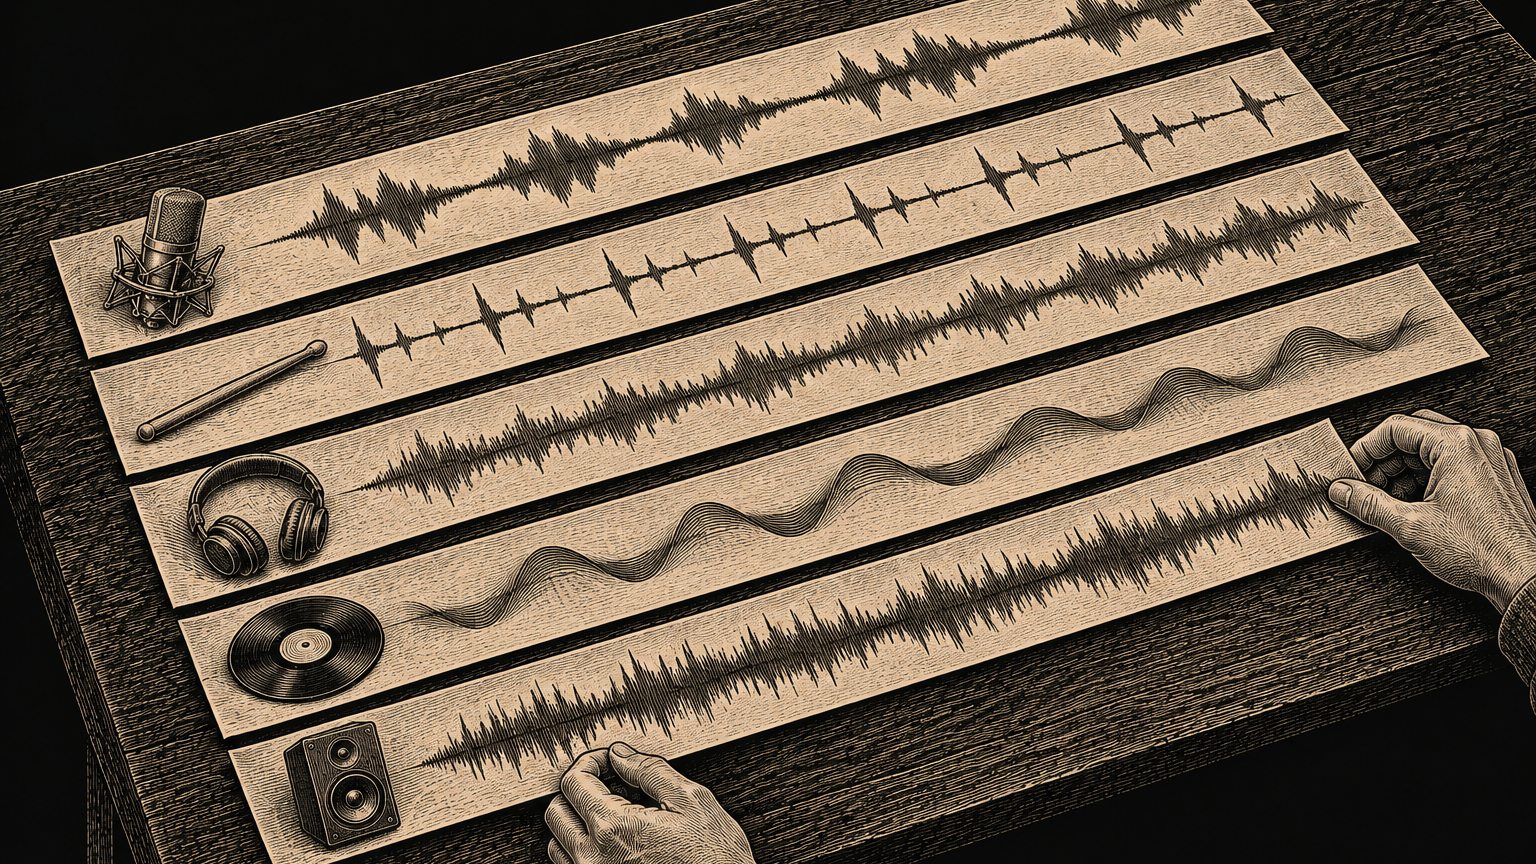
What are stems, anyway?
Stems (or individual tracks) are the separate parts of your song as their own audio files: the beat in one file, your lead vocal in a second, the ad-libs in a third and so on. Only then can each track be processed on its own. With a single finished file that already has everything in it, that is no longer possible.
The short version
- All tracks start at the same point and run to the end of the song.
- Turn reverb and delay off, nothing on the master channel.
- Nothing clipping, no red peaks.
- Export as WAV, or as FLAC for large files.
- Name files clearly, for example
LeadVocal.wavandBeat.wav.
All tracks start at the same point
This is the most important rule. When mixing, all files are stacked from their very first second. The files do not know where they belong in the song, only their start point shows that.
An example: your hook doubles only come in at 0:45. If you export just that section, the file starts right with the voice. In the mix, the hook then lands at the very beginning of the song, in the middle of the intro.
How to do it right: export every track from the start of the song (bar 1, second 0) to the end, even if it contains long silence. The easiest way is to select the whole song in your software and export all tracks at once.
The silence is not a mistake. It keeps the track in the right place.
Which tracks you need
For a rap song, these tracks are usually enough:
| Track | What goes in it |
|---|---|
| Beat / Instrumental | The complete beat as one stereo file. |
| Lead vocal | Your main voice, all parts in one file. |
| Secondary vocal | Doubles and voices that support the lead vocal. |
| Ad-lib | Shouts and call-outs between the lines. |
| Backing Vocals | Choirs and harmonies in the background. |
| Sample / Other | Everything else, for example a vocal sample. |
Separate whatever should sound different. The lead vocal and ad-libs, for example, belong in their own files so each track can get its own reverb and its own volume. Many takes of the same kind, such as all ad-libs, can happily share one file. Yumefy accepts up to 16 tracks per song.
Export dry: reverb and delay off
Dry means: without room effects. Before exporting, turn off reverb and delay (echo) on your vocals. These effects are added during mixing, where you can set them to fit the whole song. Once they are baked into the file, they cannot be taken out again.
- Autotune or pitch correction: if it is part of your sound, leave it on. It belongs to the recording.
- Master channel: turn everything off there, especially limiters and “maximizers”. Otherwise they would be printed into every single track.
- Beat: export it the way it is supposed to sound. If your producer sent you a finished beat, simply use that file.
How to use reverb and delay on purpose afterwards is explained in Reverb and delay on rap vocals.
Nothing clipping
Clipping means: the signal is louder than the file can store. The peaks get cut off, and you hear clicks or crackles. That cannot be fixed afterwards.
While playing back, watch each track's level meter. If it turns red or hits 0 dB at the very top, pull that track's fader down a little and export again. Quieter is not a problem: during mixing, every track is brought to the right volume anyway.
The right format
Best is WAV at 24 bit. Leave the sample rate, meaning how many times per second the sound is measured, as your project is set up, usually 44.1 or 48 kHz.
Yumefy accepts WAV, FLAC and MP3, up to 60 MB per file and up to 7 minutes per song. MP3 works if you have to, but loses some sound quality when saved. Only use it if you have nothing else.
When a file gets too big
A stereo WAV at 24 bit and 44.1 kHz needs roughly 16 MB per minute. From a song length of about 3.5 minutes, a stereo track can therefore go over 60 MB. Then one of these helps:
- FLAC instead of WAV: sounds exactly the same, but is usually only about half the size.
- Export vocals in mono: a voice from one microphone is mono anyway, and the file is half the size.
- 16 bit instead of 24 bit for the beat, if there is no other way.
Clear file names
Good names save time. Yumefy reads the file name and suggests a matching role:
| File name contains | Suggested role |
|---|---|
beat, instrumental | Beat / Instrumental |
adlib | Ad-lib |
backing, bv | Backing Vocals |
double, second, harmony | Secondary vocal |
lead, main, vocal, vox | Lead vocal |
For example: LeadVocal.wav, Double.wav, Adlibs.wav, Beat.wav. If a suggestion does not fit, just change the role yourself after uploading.
How to export in your software
Every program names the function a little differently, and the wording can vary slightly between versions. What you are looking for is always: export all tracks individually, across the full length of the song.
- FL Studio: when exporting as WAV, tick the option “Split mixer tracks”. Each mixer channel then gets its own file.
- Ableton Live: select the whole song, open “Export Audio/Video” and choose “All Individual Tracks” under “Rendered Track”.
- Logic Pro: in the “File” menu, under “Export”, choose “All Tracks as Audio Files”.
Common mistakes
- A track only starts where the voice comes in, instead of at the start of the song.
- The reverb is already in the vocal and gets doubled during mixing.
- Lead vocal and ad-libs are in one file and cannot be adjusted separately.
- A limiter on the master channel squashed every track.
- Files are called
Audio 1,Audio 2,Audio 3.