Home › Guides › Recording rap at home
Recording rap at home: how to sound good without an expensive studio
Lots of songs are made in a bedroom these days. That is enough if you get a few things right. The good news: the most important ones cost nothing.
What you really need
To get started, four things are enough:
- A microphone. The easiest is a USB microphone: it plugs straight into your computer and you need nothing else. The other option is a microphone with an XLR cable plus an audio interface. That is a small box that sits between microphone and computer and converts the sound. It gives you more flexibility later, but for getting started, USB is completely fine.
- Closed-back headphones. “Closed” means hardly any sound leaks out. That matters so the beat from your headphones does not bleed into the microphone.
- Recording software. This kind of software is called a DAW (digital audio workstation). There are free ones, for example GarageBand on Mac and iPhone or BandLab in the browser. Well-known paid ones are FL Studio, Ableton Live and Logic Pro.
- A pop filter. A fine mesh or screen in front of the microphone. It catches the bursts of air on “P” and “B” that would otherwise end up as a dull popping sound on the recording.
More expensive does not automatically mean better. A simple microphone in a good room usually sounds better than an expensive microphone in a bad one.
The room matters more than the microphone
An empty room with bare walls throws your voice back. The microphone then records not only you, but also this lingering sound. It sounds “hollow” or like a bathroom, and you cannot get it out later. Reverb that sounds good is only added during mixing, see Reverb and delay on rap vocals.
A simple microphone in a good room beats an expensive one in a bad room.
The clap test
Stand where you want to record and clap your hands loudly once. Do you hear a rattle or ring afterwards? Then the room is reflecting too much. Try the tips below and clap again. The shorter and duller the clap sounds, the better.
How to improve the room without renovating
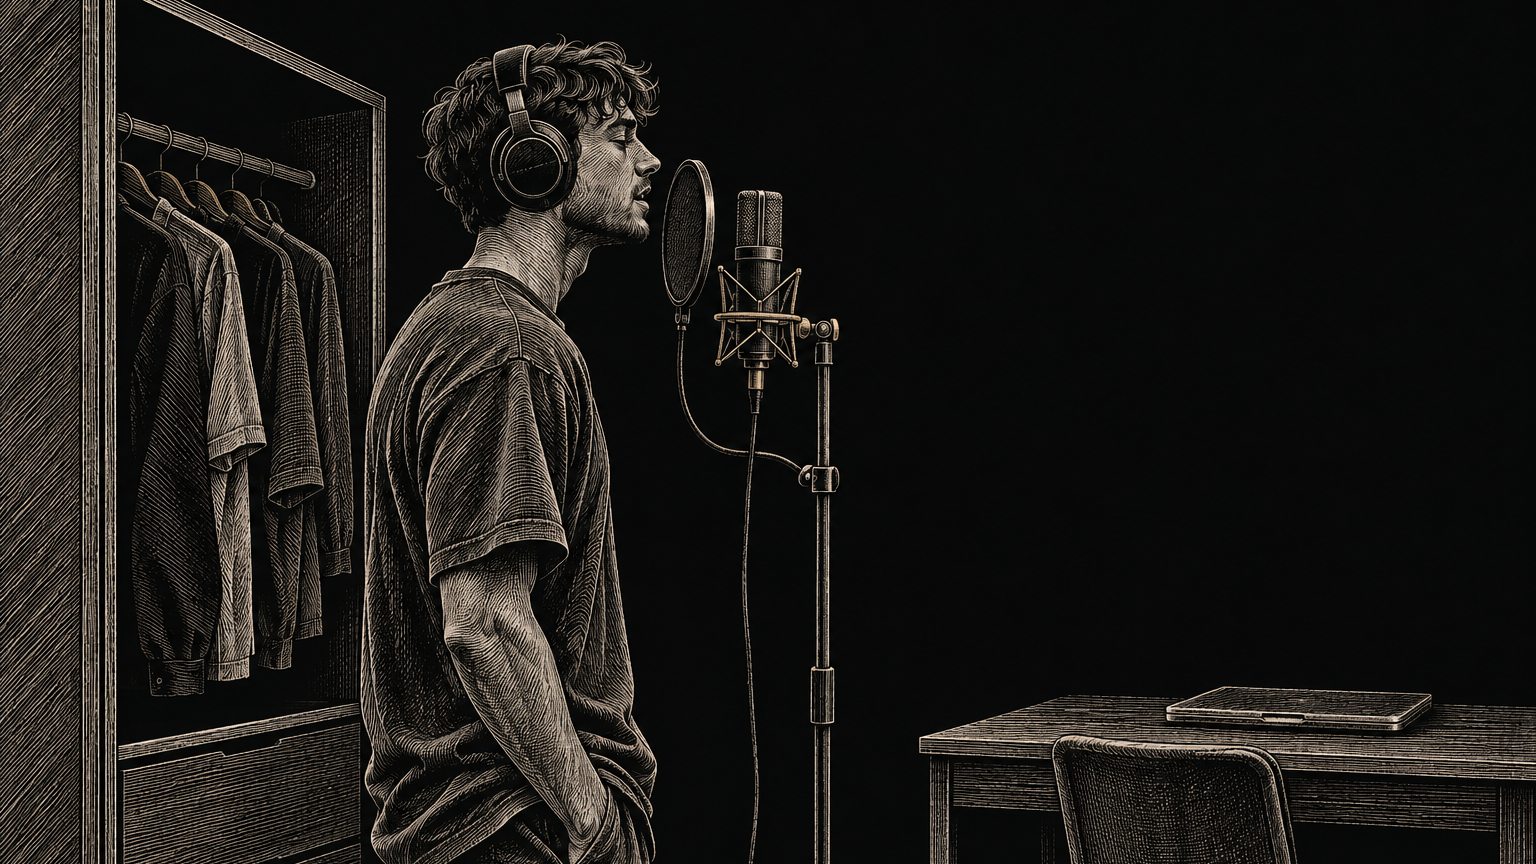
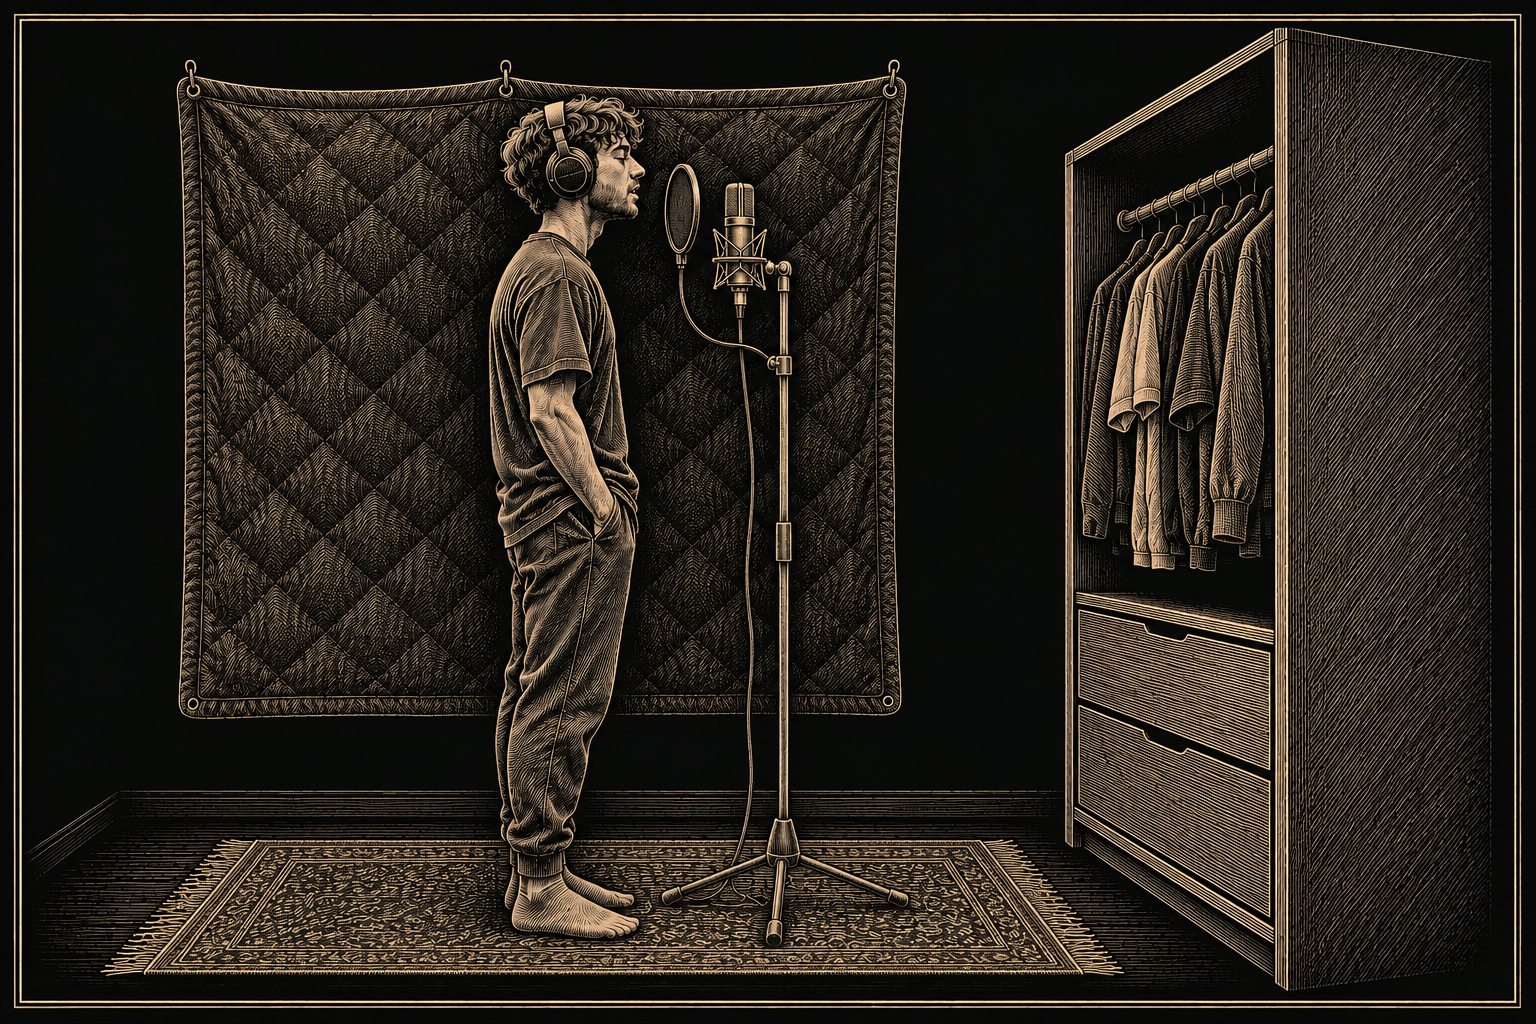
- Soft things around you. Clothes, blankets, pillows, curtains, sofa and bed absorb sound. An open wardrobe full of clothes is one of the best places to record.
- A blanket behind you. The microphone mainly hears what is in front of it. And in front of it, meaning behind you, is the wall your voice bounces back from. Hang a thick duvet there or stand a mattress up against it.
- Not in the corner and not right against the wall. That is where sound builds up the most. Better to stand a little way into the room.
- A rug on the floor, if you have one.
Turn off background noise
The microphone hears more than you think. Before recording:
- Close windows and doors.
- Turn off fans, heater blowers and air conditioning.
- Put your phone in airplane mode, otherwise it can buzz or ring.
- Keep loud computer fans as far from the microphone as possible.
- Record a moment of silence and listen back: is anything hissing or humming?
Standing right at the microphone
- Distance: about a hand's width, so 10 to 20 centimetres (4 to 8 inches). Too close and your voice booms and every breath is loud. Too far away and you hear more of the room.
- Same spot for every take: stay in the same place and at the same distance for all recordings. Otherwise every line sounds a little different.
- Rapping slightly off-axis also helps against popping on “P” and “B”.
The right level
The level is how loud your voice arrives in the software. You set it on the microphone or interface, usually with a knob called “Gain”.
The most important rule: the meter must never turn red. Red means clipping. Then the recording is distorted, and that cannot be fixed. As a rule of thumb, your loudest parts should sit roughly between −12 and −6 dB on the meter. That leaves headroom.
Better a little too quiet than too loud. If you record at 24 bit (you set that in your software's settings), a quiet recording can be made louder later without any problems. A clipped one cannot.
Test the level with your loudest line, not your calmest. Rappers often get louder in the hook than in the verse.
The recording itself
- Beat in your headphones not too loud. Loud enough to hear the beat clearly, but so that nothing bleeds into the microphone.
- Record dry. Do not put reverb or echo on the recording. If you want to hear an effect in your headphones while recording, that is fine, it just must not end up in the file.
- Several takes. Record difficult parts three times and pick the best one afterwards. Save every take.
- Each type of vocal on its own track. Lead vocal, doubles and ad-libs belong on separate tracks. That way you can adjust them individually during mixing.
- Take breaks. A tired voice sounds tired. Drink water and give yourself a break now and then.
And then?
Once everything is recorded, export each track as its own file. What to watch out for, so that everything lands in the right place during mixing, is explained step by step in How to export stems.